
Last updated November 22, 2026
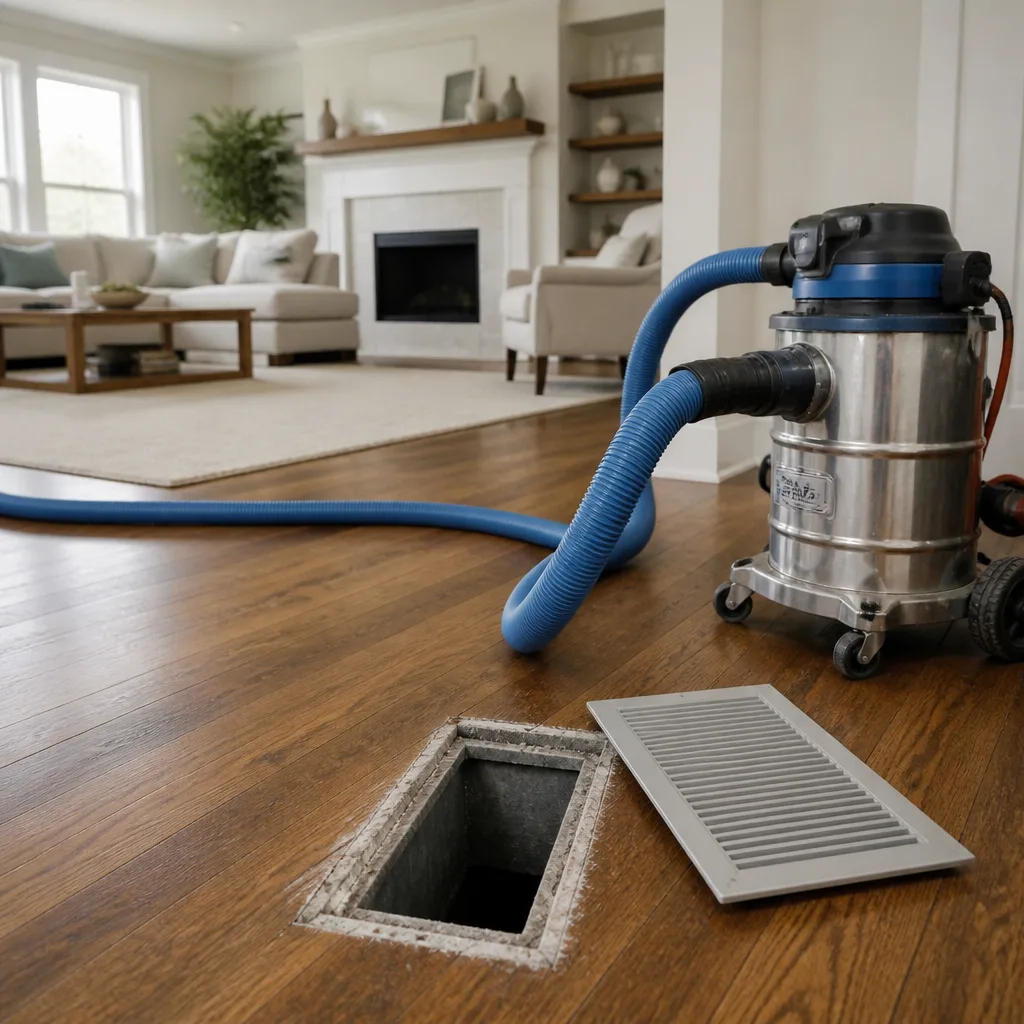 Whole-home duct cleaning
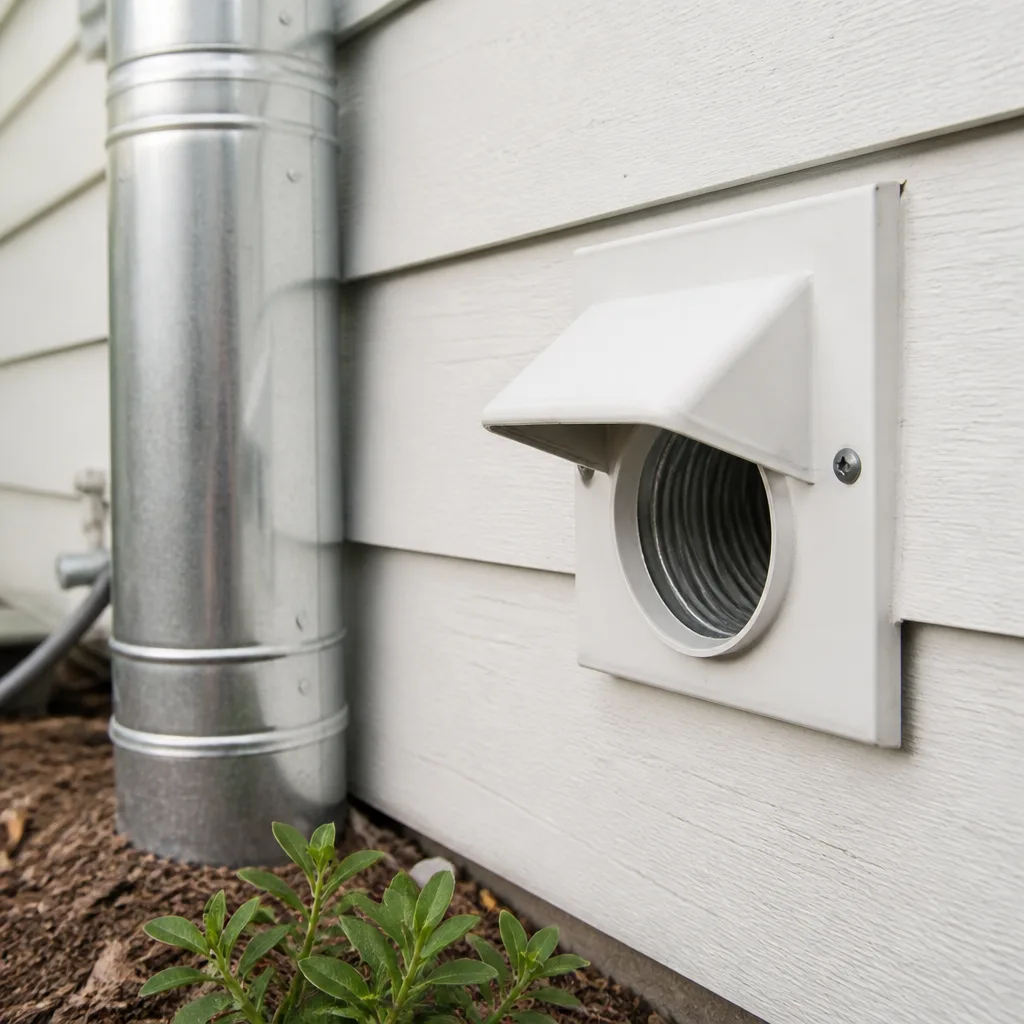 Dryer vent cleaning
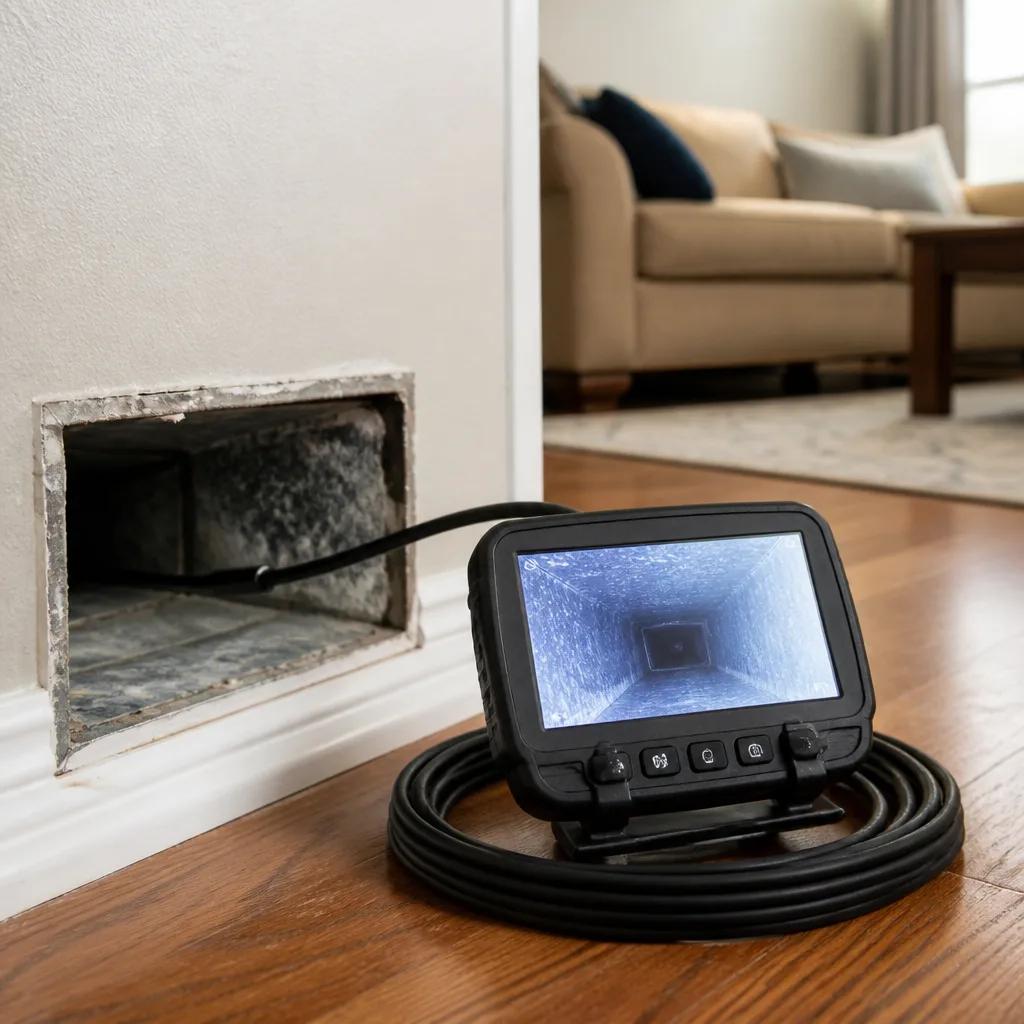 Camera inspection
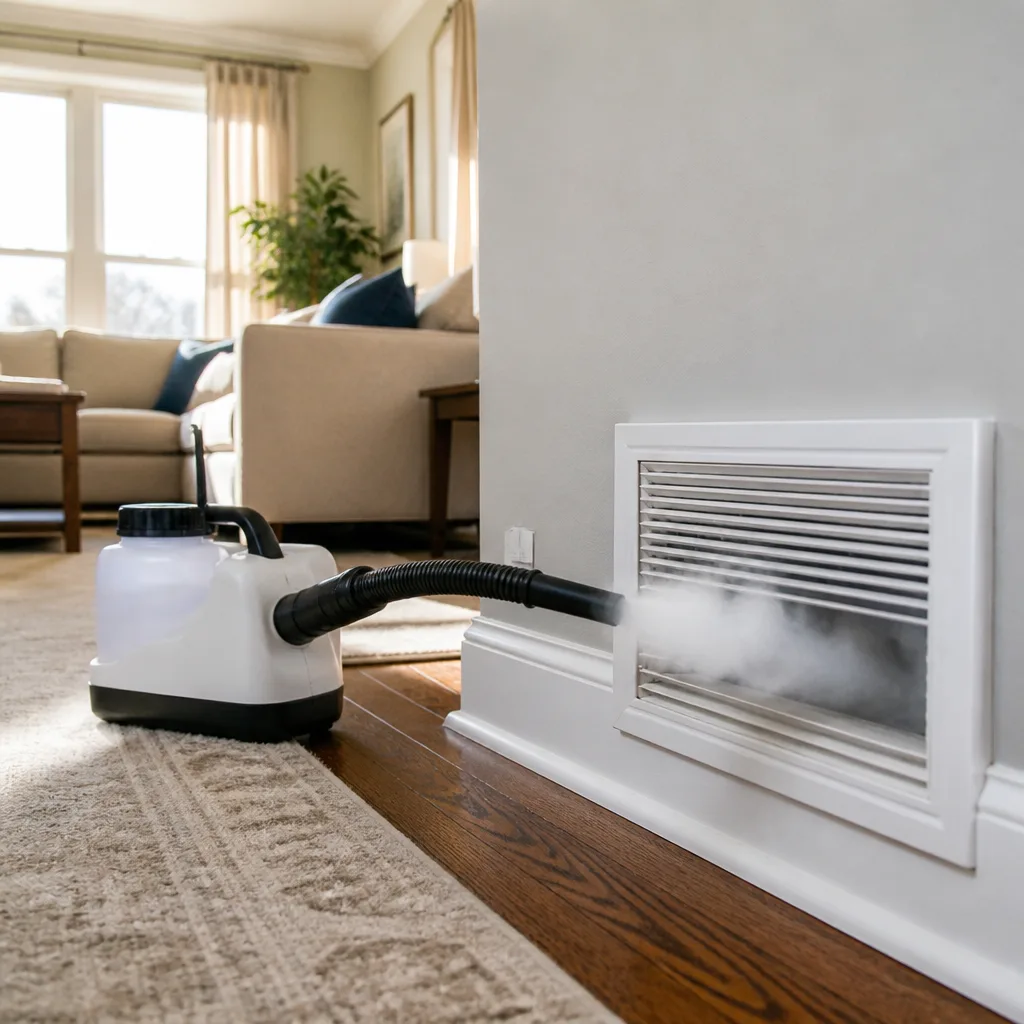 Sanitizing & deodorizing
Whole-system duct and dryer vent check with before-and-after photos - you see exactly what came out of your vents
That "$99 whole-house special" is a bait ad - the real number appears once they are in your hallway, or the "clean" is a shop-vac at the register. We photograph the inside of your ducts before and after instead.
Air Duct Cleaning Maintenance Checklist for Kensington Homeowners
Changing your filter on schedule feels responsible. It’s also the equivalent of wiping down the counter while the cabinet grows mold behind it. Your filter catches what it can at one point in the system, then the rest of the ductwork quietly collects what gets past it – dust, fine debris, construction grit, and the film that builds on interior walls nobody sees. A duct maintenance checklist isn’t really a cleaning schedule. It’s a monitoring protocol that tells you what’s changing inside your system before it becomes a problem you can smell or pay for. In this guide, we’ll break that protocol down by what you can observe yourself and what genuinely needs a technician, with the Kensington-specific signals that matter for homes here.
Quick Answer
An air duct maintenance checklist for Kensington homeowners should combine three rhythms: monthly checks you can do yourself (airflow feel at registers, filter condition, visible dust at grilles), quarterly observations (joint noise, condensation, musty smells, return grille debris), and annual professional attention (a full-system inspection and cleaning when contamination or airflow loss is present, plus duct repair and sealing when leaks are found). The checklist’s real job is building a written history so changes get caught early. Most duct problems give months of quiet warning before they surface as smells, cold rooms, or rising energy use.
Styles & brands we work with
- Whole-home duct cleaning
- Dryer vent cleaning
- Camera inspection
- Sanitizing & deodorizing
Table of Contents
- Why your ducts need a different kind of attention
- The monthly checklist: what you can observe
- The quarterly checklist: early signs of duct deterioration
- The annual checklist: what needs a technician
- What to log after every HVAC service visit
- Kensington-specific indicators that accelerate contamination
- Static pressure and airflow feel as informal diagnostics
- Why repair and sealing belong on the checklist
Why your ducts need a different kind of attention
Most maintenance advice treats ductwork like a filter: something you clean on a schedule and forget. That framing misses how a duct system actually behaves. Your ducts are the lungs of the house – a network of negative- and positive-pressure zones that move several hundred cubic feet of air per minute through joints, boots, flex connectors, and returns. Where air moves, dust deposits. Where ducts leak, they pull in unconditioned air from attics, crawlspaces, and wall cavities. Where moisture sits, biological growth follows.
That’s why the checklist below focuses on what’s changing rather than what’s due. A duct system with healthy pressure and clean grilles might not need a cleaning for years. A duct system with leaking flex connectors and a wet basement return may need attention far sooner, even if it was cleaned recently. The schedule is a reminder to look. The observations tell you what to do.
In our experience working across Kensington, the homes that end up needing deep cleaning, sanitizing, and sealing are almost never the ones whose owners ignored their ducts. They’re the ones whose owners did the monthly checks but never wrote anything down, so a slow decline went unnoticed until the system was in real trouble. A logbook and a five-minute walk-through are the whole discipline.
The monthly checklist: what you can observe
Once a month, walk your home and check the same short list. It takes five to ten minutes and catches most emerging problems before they reach the equipment. You don’t need tools – just your hands, your eyes, and a moment of quiet.
- Filter condition and fit. Hold it up to a light. If you can’t see through it, it’s loaded. Check the edges – a filter that doesn’t seal inside its slot lets air bypass and deposit dust on the blower and heat exchanger. Note the date in your log.
- Airflow feel at supply registers. With the system running, hold your hand a few inches from each register. The feel should be similar room to room. A register that’s noticeably weaker than its neighbors points to a leak, a crushed flex run, or a closed damper.
- Visible dust on grilles. Wipe a fingertip across the face of a supply and a return grille. Light dust is normal. A thick film – especially dark or greasy – means debris is being carried through the system.
- Return grille debris. Look through the return grille with a flashlight. Leaves, pet hair, and construction grit are common in returns near basements and crawls. They’re also a sign debris is getting past the filter bed.
- Odd odors at startup. Note any smell the first minute after the system kicks on. Musty means moisture. Sharp or “hot” means electrical or equipment. Dusty-burning means the system sat unused or the heat exchanger is dirty.
- Sound at boots and junctions. Listen near floor boots and ceiling cans. A whistling or hissing sound suggests a leak at the boot-to-floor or boot-to-duct joint.
- Thermostat behavior. Note whether the system is short-cycling or running longer than usual for the same weather. Both can reflect airflow restriction.
If any of these checks produces an unfamiliar result, write it down rather than acting on it. Patterns matter more than single readings. The month-to-month comparison is the value – and it’s the exact kind of history that makes a professional visit faster and more accurate on the day it happens.
The quarterly checklist: early signs of duct deterioration
Quarterly, you’re looking for changes that take longer to appear. These are the early indicators of duct deterioration – the signs a system is degrading before it fails – and they’re visible without opening walls, in most cases.
- At the register: Streaking or “tiger stripes” of dust trailing along the ceiling or wall near a register often indicates a loose boot or leaking supply connection blowing dust into the room instead of into the duct. Smudges at the register flange can mean the seal has failed.
- At duct joints: On exposed ductwork in garages, basements, and mechanical closets, look for separation, mastic that’s cracked away, foil tape that’s curling, or gaps between sections. Any of these is an air-loss point and a dust-entry point.
- At flex connectors: Flex duct running from a rigid trunk to a boot is vulnerable. Look for crushed sections, kinked turns, torn outer jacket, or interior core visible at the collar. Kinks reduce airflow; tears let unfiltered air and debris into the system.
- At returns near crawlspaces or basements: Feel for dampness or coolness around the return boot. Any moisture signal at a return is a priority issue – a wet return is the fastest route from “contaminated” to “colonized.”
- At ceiling and floor penetrations: Anything from the room into a duct or duct chase should be sealed. Gaps around a supply line at a ceiling or floor are the perfect path for attic or crawlspace air to be pulled into the system.
- Condensation on metal boots in humid months: A sweating boot or duct section in a basement or unconditioned space signals a dew point problem that will ultimately feed biological growth.
- Airflow change: If any register that felt strong last quarter feels weak now, note it in the log. Gradual loss is the most common duct deterioration pattern and the hardest to catch without a written baseline.
None of these observations require a screwdriver. All of them tell you whether to schedule an inspection, and none of them require you to open drywall or handle duct components yourself. What you’re doing, essentially, is providing the technician with a starting map on day one.
The annual checklist: what needs a technician
Some tasks you genuinely cannot do yourself. Accessing the interior of ductwork safely, verifying airflow with a manometer, checking blower wheel cleanliness, and inspecting the heat exchanger or coil are jobs for trained technicians – and the risk of damaging the system by attempting them is real. Our technicians have up to 12 years of experience, and the annual tasks below are a fair picture of what professional attention covers.
- Full-system duct inspection. Interior cameras, access ports, and pressure measurements reveal what the surface can’t show. Rotobrush and Nikro systems are used by certified HVAC contractors for exactly this reason – they reach the interior surface of duct runs safely and thoroughly.
- Duct cleaning when warranted. Not every system needs cleaning every year. Where the inspection finds significant buildup, biological growth, or post-construction debris, professional air duct cleaning restores the system. Where it finds the duct interior clean, we’ll tell you so.
- HVAC cleaning. Blower wheel, cabinet interior, evaporator coil surface, and drain pan. A dirty blower wheel becomes a dust recirculator, and a wet drain pan becomes a biological reservoir. HVAC cleaning belongs on the annual list.
- Duct repair and sealing. Any gaps, kinks, failed tape, or separated joints found during inspection should be repaired and sealed as part of the same visit. Cleaning a leaky system without sealing it is temporary.
- Dryer vent inspection. Your dryer vent is a separate exhaust path with its own fire risk. Annual dryer vent cleaning and inspection belongs on the same checklist because it’s the same house and the same safety logic.
- Air quality assessment and upgrades. Depending on what the inspection finds, filter upgrades, purification equipment, or sanitizing may be worth discussing. Honeywell and Aprilaire product lines are the kind of equipment we recommend when it fits the finding, not before.
- Pressure and static measurements. A technician records supply and return static pressure, filter pressure drop, and airflow at the coil and key registers. These numbers become the annual benchmark for the following year.
The output of the annual visit shouldn’t be just a clean system. It should be a written report you file alongside your log – the technician’s numbers and observations that make next year’s visit smarter.
What to log after every HVAC service visit
A maintenance history is worth more than a clean filter. When a technician visits for any reason – heating tune-up, AC check, duct cleaning, repair – capture the same set of facts each time. The log is what lets you, a future technician, and any contractor buying your home see the pattern instead of a snapshot.
- Date and reason for the visit. “Spring AC tune-up” and “duct cleaning after renovation” are different entries. Be specific.
- Filter state at start of service and MERV rating installed. If the technician changed the filter, note the model. Sizes and ratings only matter if you know what’s in the system.
- Static pressure and airflow readings. If the technician took them, write them down. If they didn’t, ask for next time.
- Any leaks, gaps, or kinks observed and where. Location is as important as the finding – “flex kink at north bedroom supply” is a useful entry; “leak found” isn’t.
- Cleaning performed and method used. Note whether the visit was a surface clean or a full-system cleaning, and which equipment was used.
- Repairs and sealing done. What was sealed, what was repaired, what was replaced.
- Recommended next steps and timing. Add the date you want to act on them.
- Photos, before and after. Ask for before-and-after images of your own ducts. Any cleaning company unwilling to provide them is telling you something.
A simple paper notebook or a note on your phone is enough. The discipline is showing up monthly to add the observations, and saving the technician’s numbers each time so the pattern is visible. That log is what makes an estimate honest a year from now, because the conversation moves from “how bad is it?” to “how has it changed?”
Kensington-specific indicators that accelerate contamination
Kensington’s housing stock and climate produce a few local patterns worth calling out specifically. The hillside grade, the older basements and crawlspaces common in the neighborhood’s housing, and the humid summers all change what contaminates ducts and how fast. These are the signals we watch most closely here.
- Basement ductwork in humid months. Cold metal ductwork in a humid basement sweats. Metal boots and trunk lines that sit in unconditioned basement space collect condensation, and that moisture film is what feeds biological growth on the duct interior. If your basement feels clammy in summer, check your basement duct joints first.
- Older returns near crawlspaces. Returns that penetrate a crawlspace wall or floor are common in parts of Kensington, and they’re the most efficient entry point for soil debris, pests, and moisture vapor into a system. Look for grit in the return grille and a musty smell at startup.
- Post-renovation debris. Kensington’s older homes get renovated – kitchens, bathrooms, basements – and drywall dust, insulation fibers, and construction grit routinely end up in return ducts through gaps in prep. Any duct system that lived through a renovation should be inspected within a year of the work finishing.
- Older return paths and undersized runs. Some older homes have return paths that run through wall cavities or short plenum chases. These can pull unconditioned attic or wall air, and they also tend to deposit dust faster than short supply runs.
- Seasonal transitions. The shift from heating to cooling season is when systems get slammed for the first time in months. That’s the week most issues first appear – the check right before switching modes is the single most valuable one on the calendar.
If more than one of these describes your home, an annual professional inspection is worth scheduling sooner rather than later – not because the system is necessarily dirty, but because these local patterns compound. When a real problem does appear, it usually requires more than a surface clean. Abatement Technologies equipment matters here for a reason: fine particulates, mold spores, and post-renovation dust need HEPA-level extraction and containment, not a shop vacuum and an extension hose.
Static pressure and airflow feel as informal diagnostics
Static pressure is the resistance in your duct system. In a good system, the fan pushes a steady volume of air with modest resistance and every register feels similar. When static pressure rises, airflow drops, the blower works harder, and rooms get uneven. You can’t measure static pressure without a manometer, but you can feel its effects at the register, and you can use those feelings as early warning signals between professional visits.
Here’s how to use airflow feel informally:
- Set a baseline. Pick a cool, calm day with the system running steadily. Hold your hand flat and about 4 to 6 inches from every supply register, in order, and write down a word for each: strong, medium, weak. Do the same at returns.
- Scan for outliers. One register noticeably weaker than its neighbors is a red flag – likely a crushed flex, a closed damper, a leaking joint, or a disconnected boot. Multiple weak registers on one side of the house points to a trunk restriction.
- Note temperature feel. Hold your hand at the same distance. Supply air should feel consistently cool or warm across rooms at the same moment in the cycle. A register running noticeably less cool or less warm than its neighbors suggests a leaking run pulling in unconditioned air.
- Recheck the same way each quarter. Use the same hand position, the same distance, the same time in the cycle. The comparison from quarter to quarter is the actual signal. A register that felt “medium” last quarter and “weak” this quarter is telling you what a static pressure gauge would eventually show.
- Flag and report. If any register drops a full step (strong to weak) between checks, note it in the log and mention it at the next service call. The measurement itself is the technician’s job, but the observation is yours to make.
You’ve now done something most homeowners never do: converted airflow into a quarterly data point. That single habit is what separates a real monitoring protocol from a cleaning schedule.
Why repair and sealing belong on the checklist
The most commonly skipped step in a duct maintenance checklist is the repair step. Cleaning without sealing treats the symptom; sealing addresses the cause. Leaky ductwork pulls in dust, moisture, pests, and unconditioned air continuously, so a cleaned system starts re-contaminating the same day the cleaning crew leaves if the leaks weren’t addressed.
What “repair and sealing” actually involves is less dramatic than it sounds. Techs identify joints and connections that have failed – mastic that cracked away, tape that curled, flex with a torn jacket, separated sections. Then they clean, seal, and re-support the affected runs. The result is a system that holds pressure, moves the air it was designed to move, and stays clean longer. On a typical job, this is the work that finally resolves a room that never got warm enough or the one that always had a slightly musty smell.
It’s also why Kensington Air Duct Cleaning treats repair and sealing as one of the five core services rather than an upsell. Cleaning, HVAC, dryer vent, repair and sealing, and air quality and sanitizing all sit in the same scope because they keep stepping on each other’s toes. A dryer vent full of lint isn’t a duct problem, but it’s part of the same “air leaves the house” system. A duct cleaned and never sealed isn’t a duct problem either – it’s the same re-contamination problem on a delay. When one gets addressed and the others don’t, the whole system reverts. When they move together, the results hold.
Add “sealing status at each junction” as a standing item in your quarterly checks. If you don’t know the status, that’s a reason to schedule an inspection rather than a reason to guess. In our experience, sealing is the step that changes a home’s air quality the most quietly and durably – and the one almost everyone skips.
Common Mistakes to Avoid
- Skipping the filter fit check. A filter that’s clean but doesn’t seal at the edges lets unfiltered air deposit dust on the blower and coil. Fit matters as much as capture. Pull the filter, look at the frame, and note whether air can bypass.
- Using “airflow feels fine” as a complete check. One strong register doesn’t disprove a leaky trunk. Check every register and return, not just the nearest one, and compare them in the same moment during the cycle.
- Cleaning grilles only. Wiping a grille is cosmetic. It doesn’t touch the duct interior where contamination lives – a check-in-your-log habit beats a wipe-down every time.
- Cleaning without sealing. Any cleaning that happens on a leaky system is temporary. Ask whether sealing is part of the visit or scheduled separately, and get it done.
- Ignoring basement moisture. In Kensington, a humid basement is the number one contamination accelerator. If your basement feels damp, treat that as a priority check, not as background noise.
- Not asking for before-and-after photos. Any cleaning claim should be documented with images of your own ducts. Ask for them each visit and file them with the log.
- Not writing anything down. A monthly check without a log is a walk-through. The log is the diagnostic – it’s what turns observation into early warning.
See the difference
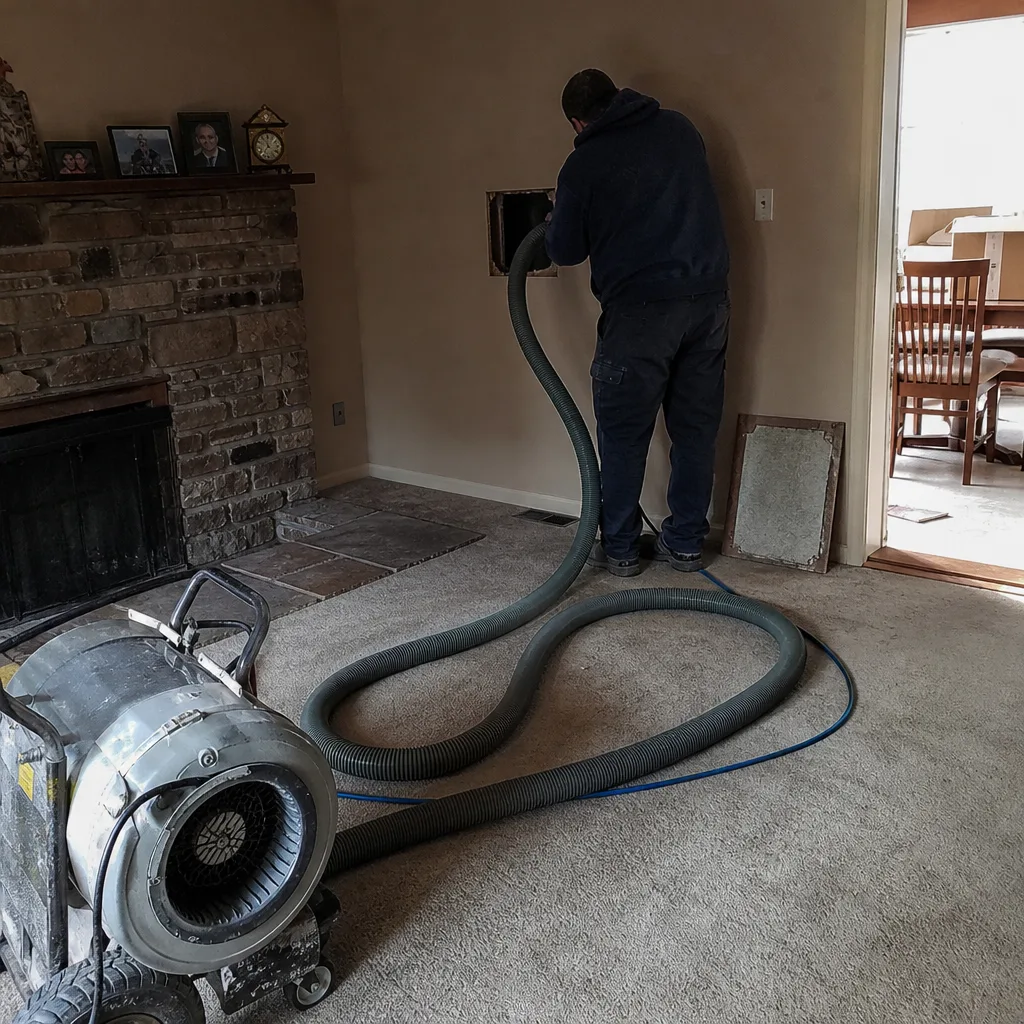 Before
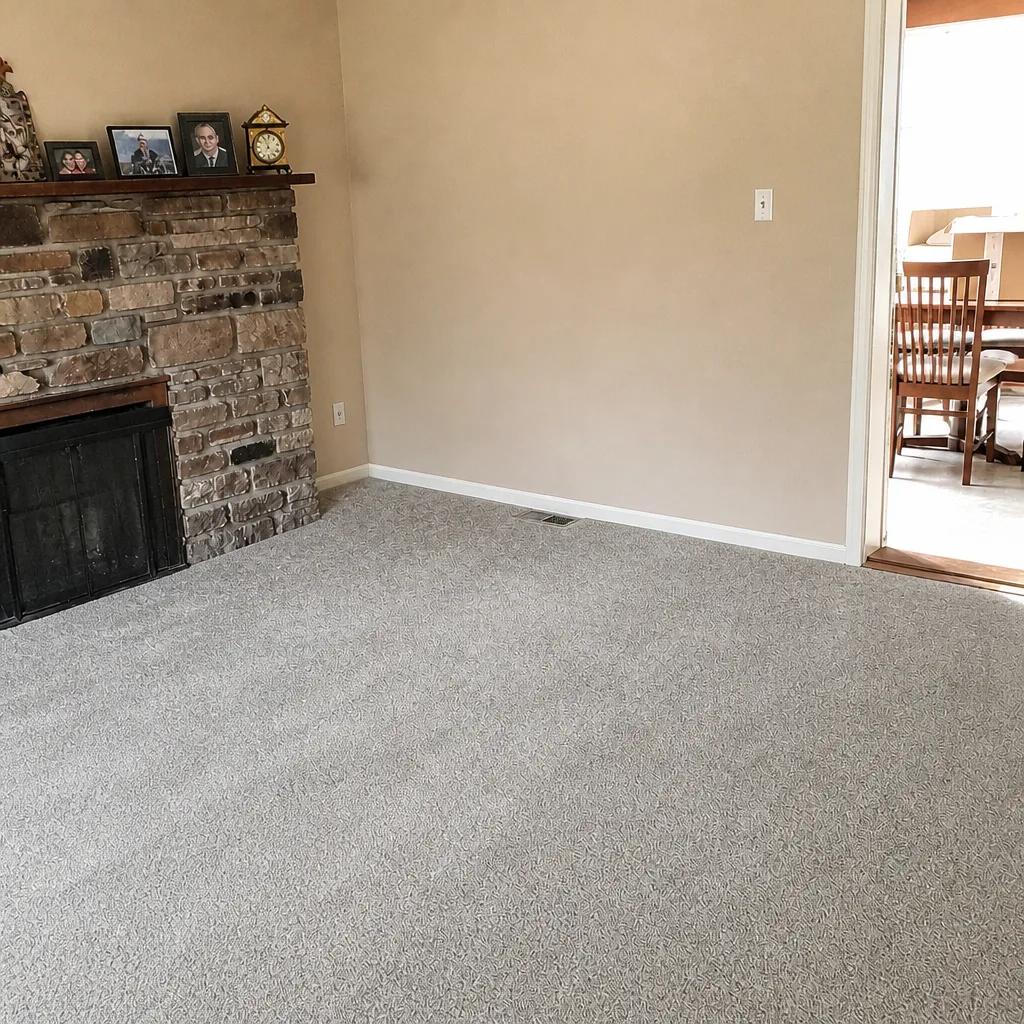 After
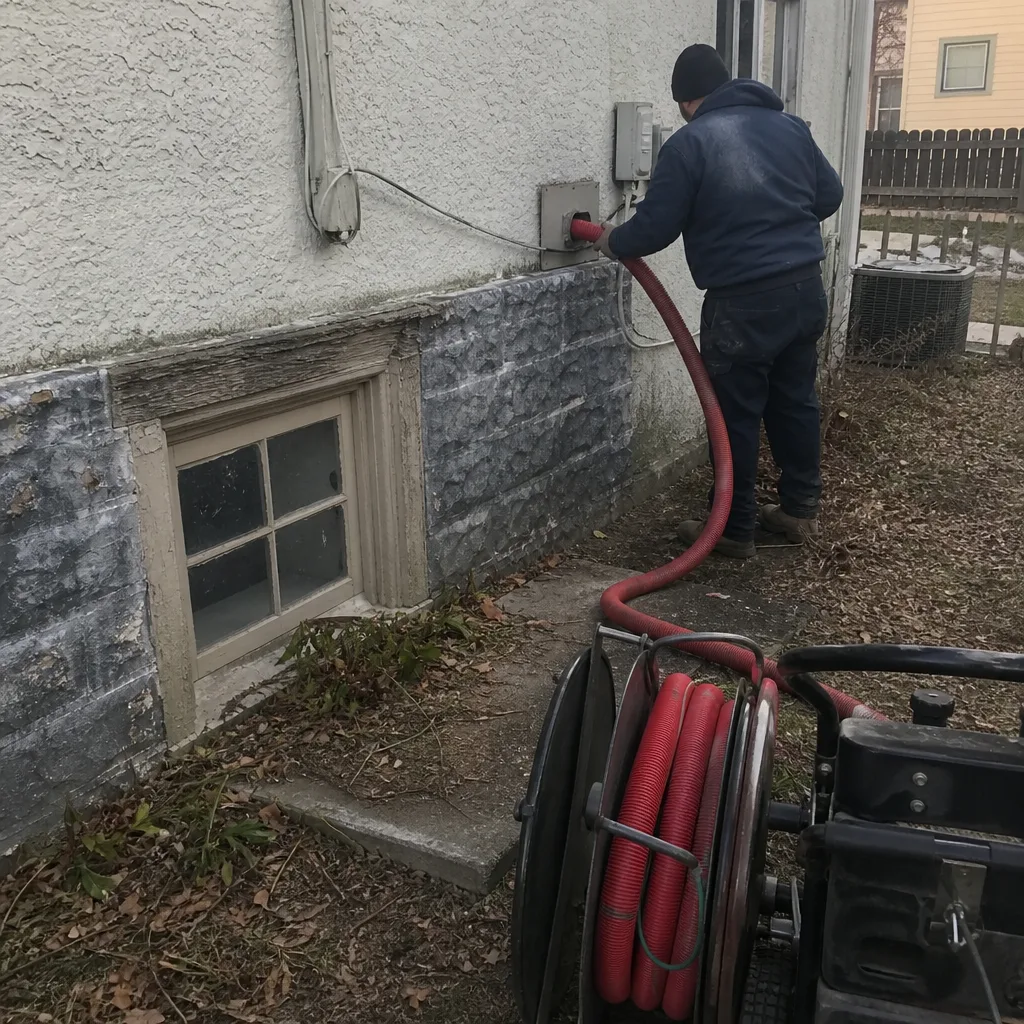 Before
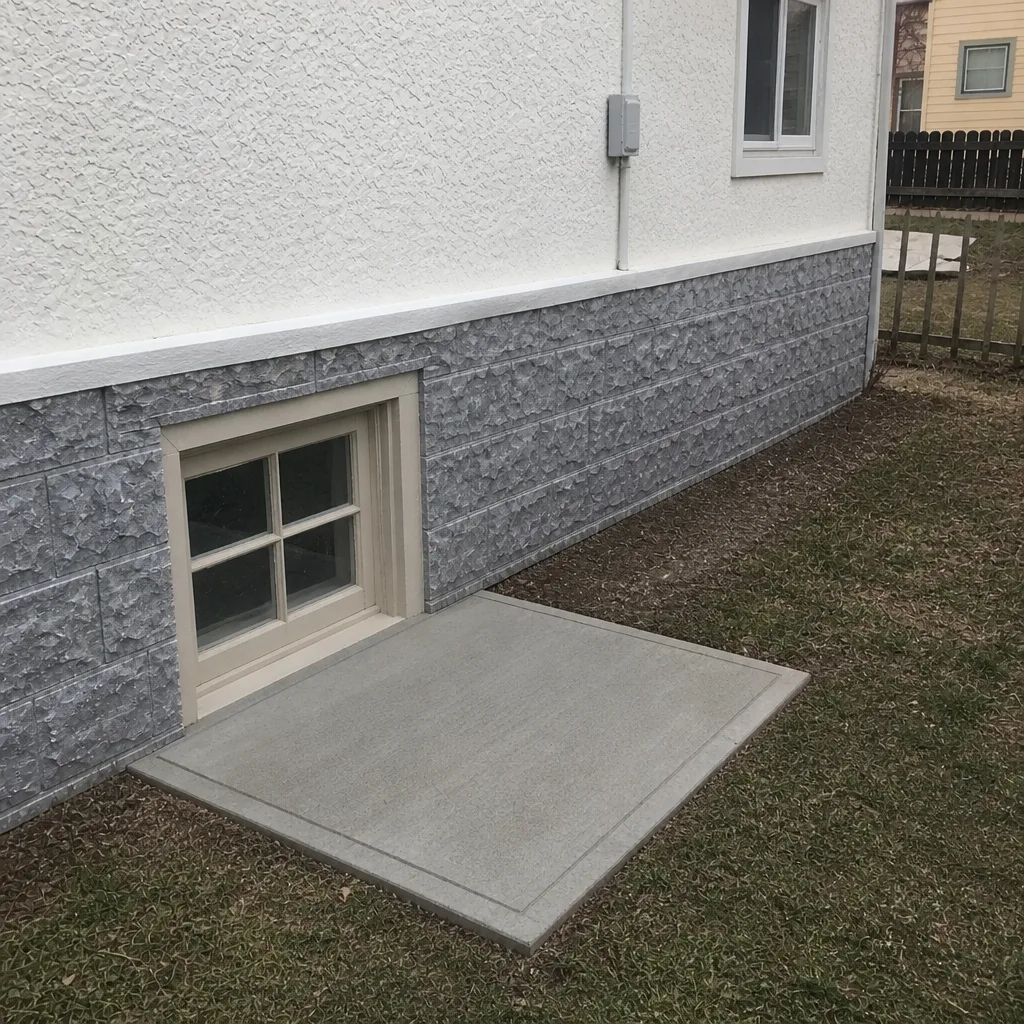 After
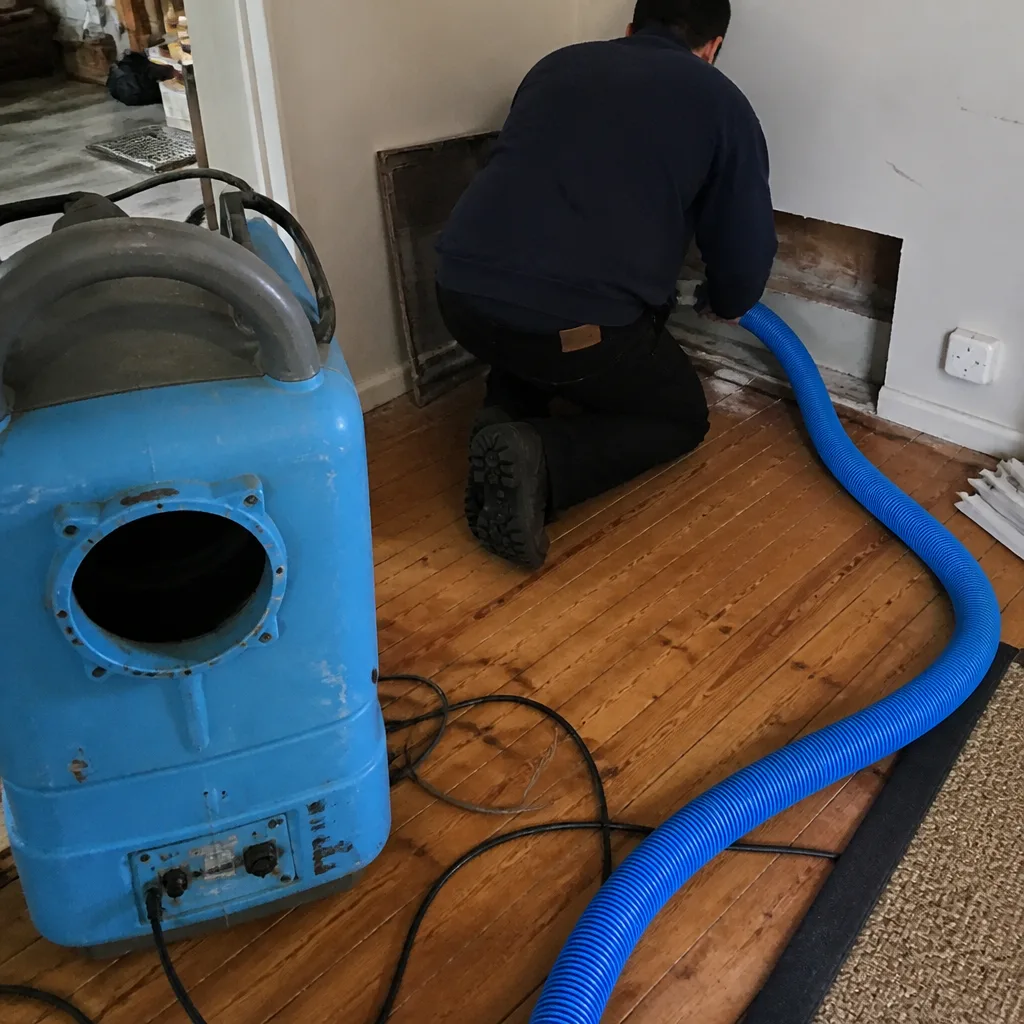 Before
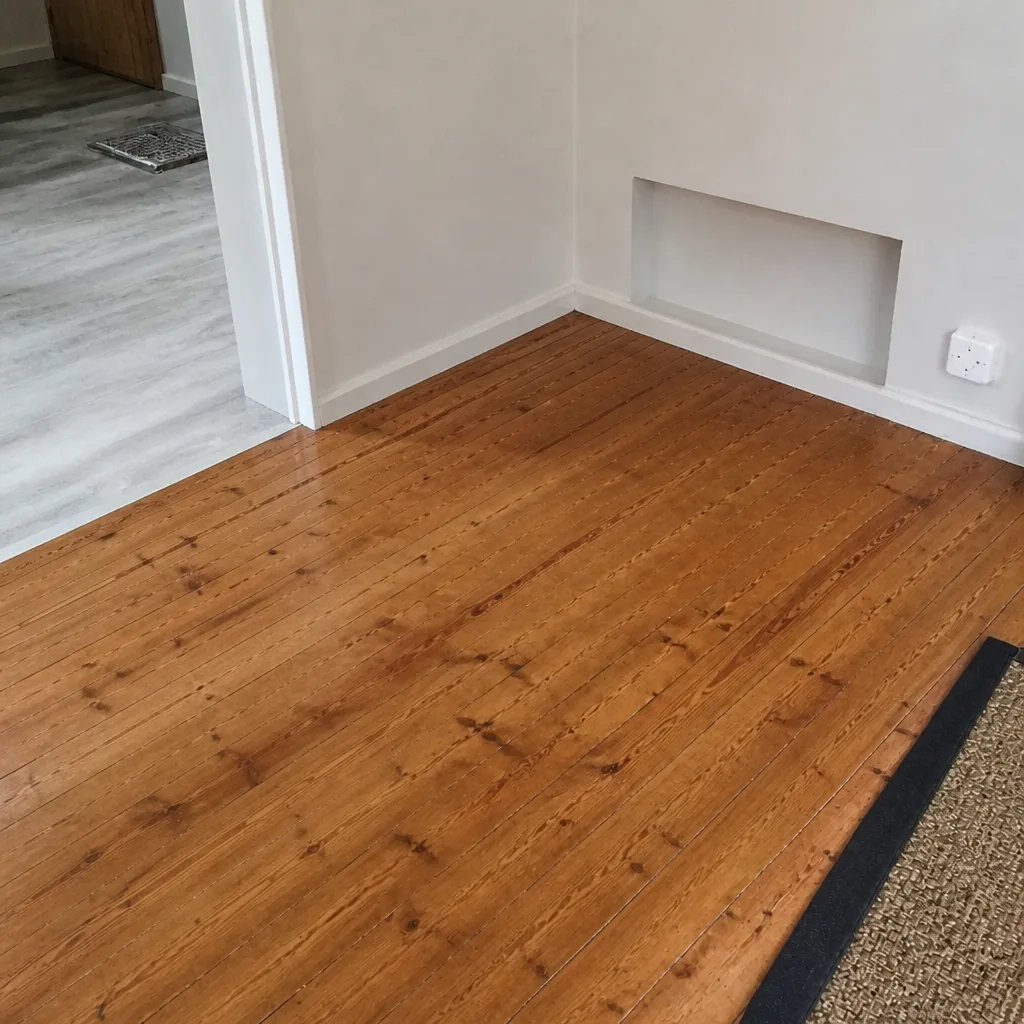 After
When to Call a Professional
Call a professional when any of the following is true: you’ve noticed a persistent musty or dusty smell at startup that you can’t trace to a filter; one or more registers has lost a step of airflow versus last quarter; your basement ducts sweat or feel consistently cool in summer; the return grille near your crawlspace has visible grit or debris; your system lived through a renovation within the past year; you’re hearing whistling at boots or joints; or you’ve never had the interior of your ductwork inspected since moving in. These are all situations where the observation is yours but the measurement and the work belong to a trained technician. Handling spring-loaded duct components, cutting access ports, or attempting to access the interior of contaminated ductwork yourself adds risk without adding information.
Kensington Air Duct Cleaning offers free estimates in Kensington – call (877) 792-6865. We answer 24/7. Fast dispatch from 7am to 7pm, Sunday through Friday. Estimates are free, the price is set per job by a written estimate, and we can work with your insurer where applicable.
Frequently Asked Questions
Most Kensington homes do best with a professional inspection every year, and a cleaning only when the inspection finds contamination or airflow loss – not on a fixed every-year schedule. Homes with basement moisture, a recent renovation, pets, or allergy-sensitive occupants typically need cleaning sooner than homes without those factors. The annual inspection is the reliable rule; the cleaning frequency follows what the inspection shows. Call (877) 792-6865 any time to schedule an inspection – estimates are free.
You can – and should – do a monthly visual check at registers, boots, joints, and returns, plus a quarterly airflow comparison. Those observations are yours to make. Interior inspection, static pressure measurement, cleaning, and sealing are technician work. The homeowner’s checklist produces the observations; the technician’s tools produce the diagnosis. If your observations keep flagging the same issue, call (877) 792-6865 for an estimate.
Very low quotes usually reflect one of three limits: a surface clean of the grilles and trunk only, no access to the full duct interior, or no repair and sealing of the leaks that let debris back in. Cleaning a leaky system is temporary work, and a low price often means the leaks aren’t addressed. Ask before you book what equipment will be used, how the technician accesses each run, and whether repair and sealing is part of the visit. Call (877) 792-6865 for a written estimate that spells out exactly what’s included.
Ask for before-and-after photos of your own ducts, taken during the visit. A technician with professional access and containment equipment can show you the interior of your system on both sides of the job, and a company committed to real cleaning will provide those images without being asked twice. File the photos with your log. If you’ve had a cleaning and were not given documentation, call (877) 792-6865 to arrange an inspection.
Static pressure is resistance inside the duct system, and airflow feel at the register is your informal read on it. If one register feels noticeably weaker than its neighbors, something in that run is restricting air – a kink, a leak, a closed damper, or a disconnected boot. You can’t measure static pressure without a manometer, but you can track airflow feel each quarter and flag a drop of a full step. Call (877) 792-6865 to have the actual pressure measured.
Yes. Dryer vents are a separate exhaust path with their own fire risk, and lint buildup is the most common cause of dryer vent fires. HVAC cabinets and blower wheels collect debris that a duct clean doesn’t reach. Both belong in the same annual visit alongside duct cleaning, inspection, and sealing – the whole system, in other words, not just the ducts. Call (877) 792-6865 to book the combined visit.
The Bottom Line
A useful duct maintenance checklist isn’t a cleaning schedule. It’s a monitoring habit. Check monthly, log the observations, add the quarterly joint and flex checks, and schedule the annual professional inspection that measurement requires. Watch Kensington’s local signals – humid basement ducts, crawlspace-adjacent returns, post-renovation debris – because they compound. Use airflow feel and register behavior as informal static pressure diagnostics between visits. And treat repair and sealing as part of cleaning, not a follow-up step. The homes that stay clean are the ones whose owners look, write, and act early. That’s the whole checklist.
Ready to put the checklist to work with a trained eye? Kensington Air Duct Cleaning offers free estimates in Kensington – call (877) 792-6865. We answer 24/7. Fast dispatch from 7am to 7pm, Sunday through Friday. One flat price per system agreed before work starts, before-and-after photos of your own ducts, and a satisfaction guarantee.
Written by the team at Kensington Air Duct Cleaning.